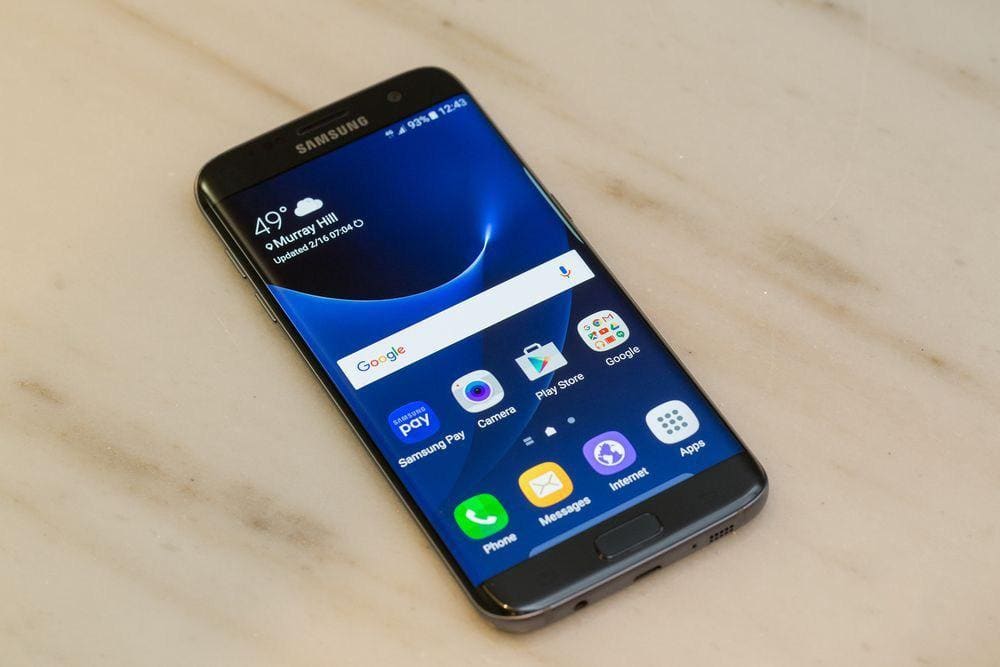
It’s well over a year now for the Samsung Galaxy S7 and the Galaxy S7 edge, and the device has aged very well, and the former flagship has a plenty of development available as well. Now its time for you to get into the community and start modding your Galaxy S7/7 edge, the customizations are endless so you will have a good time flashing various custom ROMs and Xposed modules.
So, to enter the world of endless customization, your Galaxy S7 and S7 Edge must be rooted and should have a custom recovery installed. In this post, I’ll talk about how to install a Custom recovery such as TWRP on your device and root Galaxy S7 and S7 edge to have the Su access.
Also, Check- List of Samsung device that will get the Android Oreo update.
Before proceeding any further, you’ll need to download the following files on your computer and make sure you have a Galaxy S7/S7 Edge running on a Qualcomm Snapdragon processor; this won’t work on an S7/S7 Edge running on the Exynos chip. Also, backup everything on your phone, as all your data will be formatted in these processes.
Download the following files:
- Samsung USB drivers
- TWRP recovery
- Odin
- Root Files 1[no-verity-opt-encrypt-5.1.zip]�
- Root File 2 [Magisk-v12.0]
First, go to Settings > About Phone > And Tap more than seven times on your Build Number, this will now prompt a toast message saying you are now a developer and the developer settings will be enabled now. Go to the developer settings and enable the USB-debugging option as well as OEM unlock, it’s important.
At, this stage you should�have already installed the Samsung USB drivers as well as Odin as its now needed, in the further process.
How to install TWRP Custom Recovery on Samsung Galaxy S7 and S7 edge Qualcomm variants
- Download the Odin flashing tool (It’s not an official tool keep that in mind ), from the download link mentioned above.
- After that, you have to boot your Galaxy S7/S7 Edge into�”the download mode,” to do so just hold, the power button and the volume down key and home-button together till you see a warning message displayed on your screen, this means its now running in Download mode.
- Now, open Odin, which hopefully you should have downloaded by now!
- Next, step connect your Galaxy S7/S7 edge to your PC(with the download mode running in it)
- When you connect to you should see two things in Odin, and they’re as follows:?-> The Added! message displayed in the right section of Odin, confirms that your device is connected and Odin has detected your device, and you can perform further process in it

The number shown in the picture is related to that particular device, yours will vary according to your device, Image Courtesy: theleaker .com ?-> Also, make sure that the section near ID-COM in Odin shows a blue color light up, with now the COM number being shown inside it, according to your device, just have a look at the picture above.
- Next up is, we have to start�flashing the original Stock Android ROM of the Galaxy Note 8, and for that, we use the AP button�to load it, [Fact: BTW in previous versions, it was named PDA, but now its been renamed to AP]
- Click on AP button and now navigate to the folder where you have your downloaded TWRP file, and select it

TheDroidGuru .com - Loading the file into the Odin might take some time! So, be patient after that, you had to go to the options section/tab and unchecked�the Re-partition�and Auto Reboot option as per shown in the picture above.
- Now just Press Start button, after a few moments you must see, the PASS text displayed in Odin. If not reinstall the Samsung USB drivers and repeat the process.
Now, you have successfully installed a custom recovery on your device, its time to root to get you the Superuser(SU) access!
How to Root Galaxy S7 and Galaxy S7 Edge
- First transfer both the root files, that’s the 1 and two on your phones internal storage
- Now, just boot into your custom recovery, that’s the TWRP we have installed
- Allow the system writing permission
- And navigate to the wipe option and select it to wipe the data (A clean install is always recommended because do want boot loops!)
- Next, go to the Magisk file on your internal storage and then swipe to flash it
- Now, again navigate to your�no-verity-opt-encrypt-5.1.zip file and also swipe to flash it, just like the Magsik one.
- After that navigate to wipe and select Wipe Dalvik cache�
- Now just Reboot your Galaxy device, and you’re done!
That’s how you install TWRP custom recovery and root Samsung Galaxy S7/S7 Edge.


