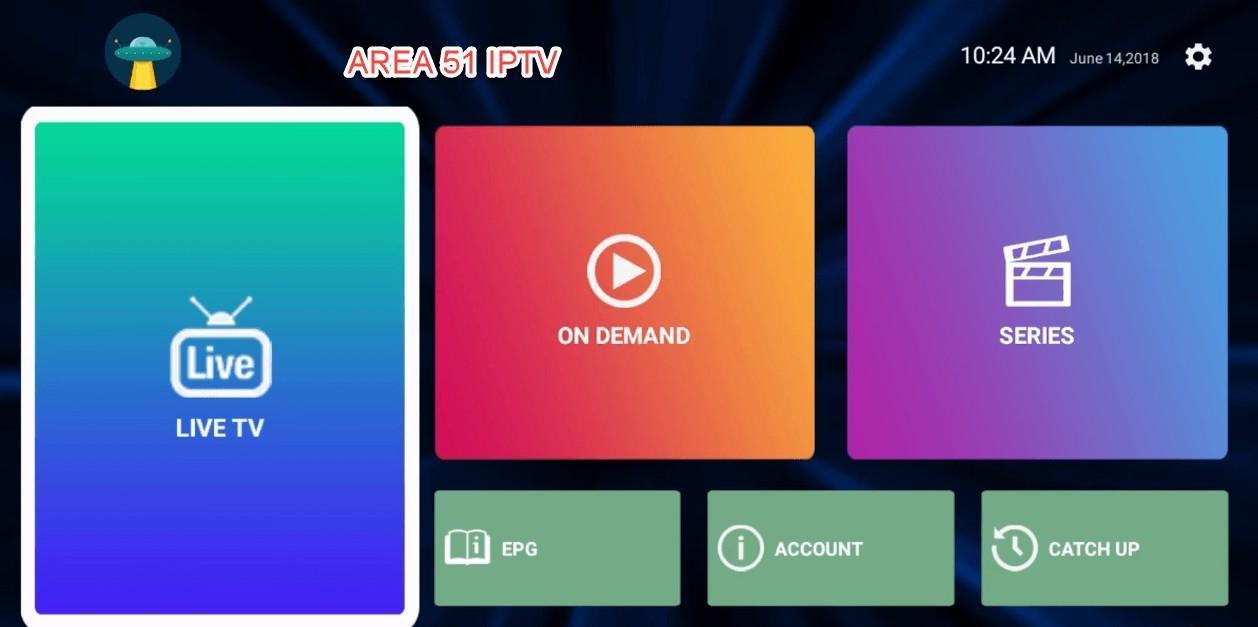
If you are looking for inexpensive HD channel services with a large number of channel package at a little cost, then Area 51 IPTV is a one-stop service for you. This IPTV based service is offering more than 1000 live channels. Also, all the channels are available in HD quality. And you can get all these channels for a price of $7 per month. This article is dedicated to the Area 51 IPTV tutorial, installation, performance issues, and prominent features. You can bookmark this page for any of the issues and tutorials related to Area 51 IPTV. We will keep this page updated with the latest news and tutorials.
You can install this service on your Android Smartphone by installing an app. If you are a Kodi user, then there is a Kodi addon that you can install on your Kodi device. Moreover, there is also an iOS application is available. You can also use Showbox�and Mobdro APK if you want to stream on an Android device. You can also check out the�Oreo TV,�OLA TV,�Pikashow,�Showbox,�MovieBox,�Cinema APK,�Typhoon TV,�RedBox TV,�CotoMovies�ThopTV for free online streaming on your smartphone and Android-based TVs.
With Area 51 IPTV, you will watch most of the sports channels, including the NFL, NBA, NHL, and MLB. Even the pay per view sports events is also available with Area 51. Apart from sports, you will also get an adult section, which you can restrict by creating a password.
You can purchase a subscription to Area 51 IPTV by getting a monthly, 3 months, 6 months, and 1-year plan. However, we would recommend you to go with the monthly plan since there is no trial available. So you never know if you are going to love their service or not. And if you get the service for a more extended period and later you do not even feel like using it. Then it will be a waste.
You can install Area 51 on as many devices as you want to. But make sure you are accessing the channel from two devices at one time. Else, you will need to purchase additional connections depend on your requirements.
Anyway, now let�s talk about the top features that Area 51 is offering:
Area 51 IPTV Features
- Area 51 offers more than 1000 channels.
- You can watch all the channels in HD quality.
- It offers quite a lot of sports channels like NFL, NBA, NHL, MLB, etc.
- Pay-per-view sporting events are also included in this service.
- It offers you the support of an external player.
- You can use Area 51 IPTV on Chromecast using a VLC video player.
- It comes with a remote control friendly interface.
- You can password protect the adult section.
- There is also an online account that can be used for raising support tickets or paying invoices.
- You can record live IPTV streams.
So those were some of the top features of Area 51 IPTV. Now, let�s go ahead and talk about the steps that you have to follow to install this service on your devices.
But before that, make sure you are using a VPN application. A VPN would not just help you in protecting your privacy. But it would also allow you access all the blocked channels under the Area 51 IPTV service. For VPN, there are quite a lot of options out there. Like you can use Express VPN, IP Vanish, Cyber Ghost, Hide My Ass, and so on. Choose the one according to your requirements.
Must read:�Google Chromecast 2 vs. Amazon FireTV stick
Also, Area 51 is the most recommended premium channel in the USA, UK, Canada, Spain, Poland, Europe, Pakistan, and Middle East countries. The most prominent feature is the monthly payment option. Area 51 allows you to pay monthly for the service. So in case you are not satisfied with the service, you can shift to other service providers. Also, in some countries, Users are paying as low as only $5 for the premium service, enabling Top Movies, Songs, TV Series, News, music, and sports channels. Approx 1000 channels. Also, you can use Area 51 IPTV on a maximum of two devices.

How to Install Area 51 IPTV on Fire TV, Firestick, NVIDIA SHIELD, & Android TV Box?
Well, you can follow the steps mentioned below to install Area 51 IPTV on your Fire TV Stick 4K as well as on your Android device. �But first, make sure you have these requirements:
- A VPN Application, We recommend you create an IPVanish VPN account, which is the Best VPN.
- Account With Area 51 IPTV, If you don’t have one, create a new account.
- Install Downloader on NVIDIA SHIELD or Android Box
- OTG Cable if you are using Fire Stick.
Once you meet these requirements, go ahead and follow these steps:
Step 1: First of all, connect to the VPN to protect your privacy.
Step 2: Go ahead and create an account with Area 51. While making payment, make sure to use PayPal As it would protect your card details.
Step 3: After that, you have to enable the installation of apps from unknown sources.
Step 4: Install the downloader.
Step 5: Now, over here, you have to type down troypoint.com/a51 in the URL box.
Step 6: Then download and install the app. (You can also create a shortcut to the home screen for easy access).
Step 7: Launch Area 51 IPV and enter your username and password. That is it. Now you are all set to enjoy the service.
How to install Area 51 IPTV on Chromecast?
To install Area 51 on Chromecast, make sure you are using VLC as your default video player. However, if you do not have a VLC media player installed on your Chromecast, make sure to install it before proceeding ahead.
Step 1: Launch the VLC player and locate the Chromecast icon from the top right corner.
Step 2: Over here, you have to choose which Chromecast device you would like to cast on. Once done, you are all set to go.

How to Install Area 51 IPTV on Kodi?
Step 1: First of all, launch Kodi.
Step 2: Then click on the settings.
Step 3: Then go to the System settings.
Step 4: From here, you have to go to the Add-ons menu item. Then turn on the option that says �allow installation of apps from unknown sources.�
Step 5: Now go back to the system page.
Step 6: From here, go to the File Manager and click on add source.
Step 7: Then click on <None>.
Step 8: Over here, you have to type down this URL: https://theuforepo.us/repo, and then click on OK.
Step 9: After that, you have to highlight the box under the source you have just typed. Then enter a name for this media source. You can type whichever name you would like to � for example, Area 51.
Step 10: Then click on the back button from your Remote and return to the Kodi home screen.
Step 11: Then go to the Add-ons menu item.
Step 12: Then click on the �open box� icon, located under the �Add-ons heading.�
Step 13: Select Install from the zip file option and select Area 51 or any other name you have provided in step 9.
Step 14: Select the repository.ufo-repo.zip file and wait for the UFO Repository add-on enabled message to come.
Step 15: Then click on install from the repository and then click on the UFO Repository.
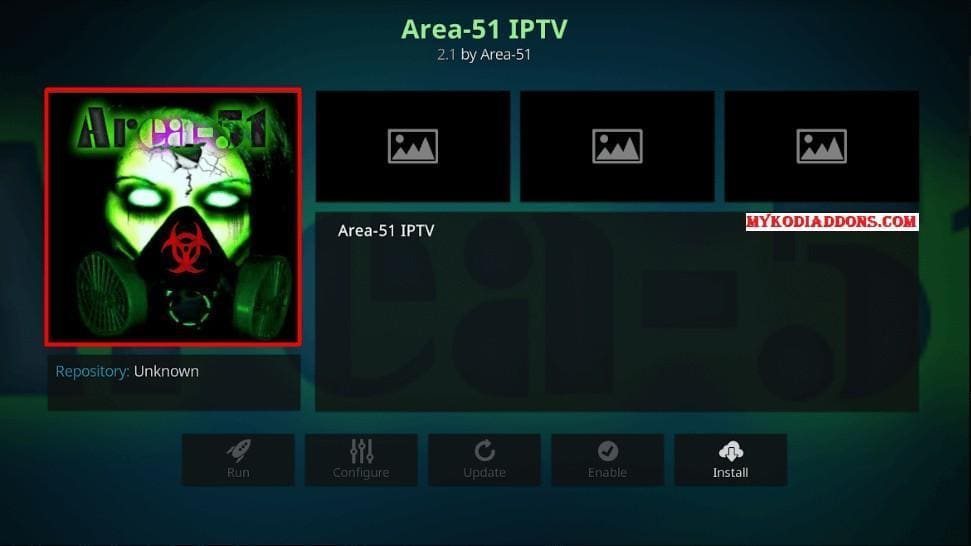
Step 16: Then click on the video add-ons and then click on Area-51 IPTV.
Step 17: In the end, click on the install button and wait for the Area 51 IPTV Add-on installed message. Improve Area 51 IPTV Performance On Kodi
However, in case after installing Area 51 on your Kodi device, if you are facing any issues. Then you can try improving the performance of Area 51. Here is how to do that:
How to improve Area 51 IPTV Performance?
Step 1: First of all, go to the home screen of Kodi.
Step 2: Then go to the Kodi Settings and then click on player settings.
Step 3: From the bottom left side panel, you have to change the Basic mode to Advanced.
Step 4: Then head over to the videos and from the right side of the screen, go to the ��Processing� header.
Step 5: From here, turn off the option that says, �Allow hardware acceleration,� and change Enable HQ scalers for scaling above to 10%. Once done, you are all set to go.

The $7 was taken out of my bank and then I got username and password and I don’t know which one don’t work that one or the other doesn’t work and then I get well anyway when I put it in it doesn’t work so I don’t know what’s going on but give me a new username password for password I should say please
Have you contacted the Area 51 IPTV support?