
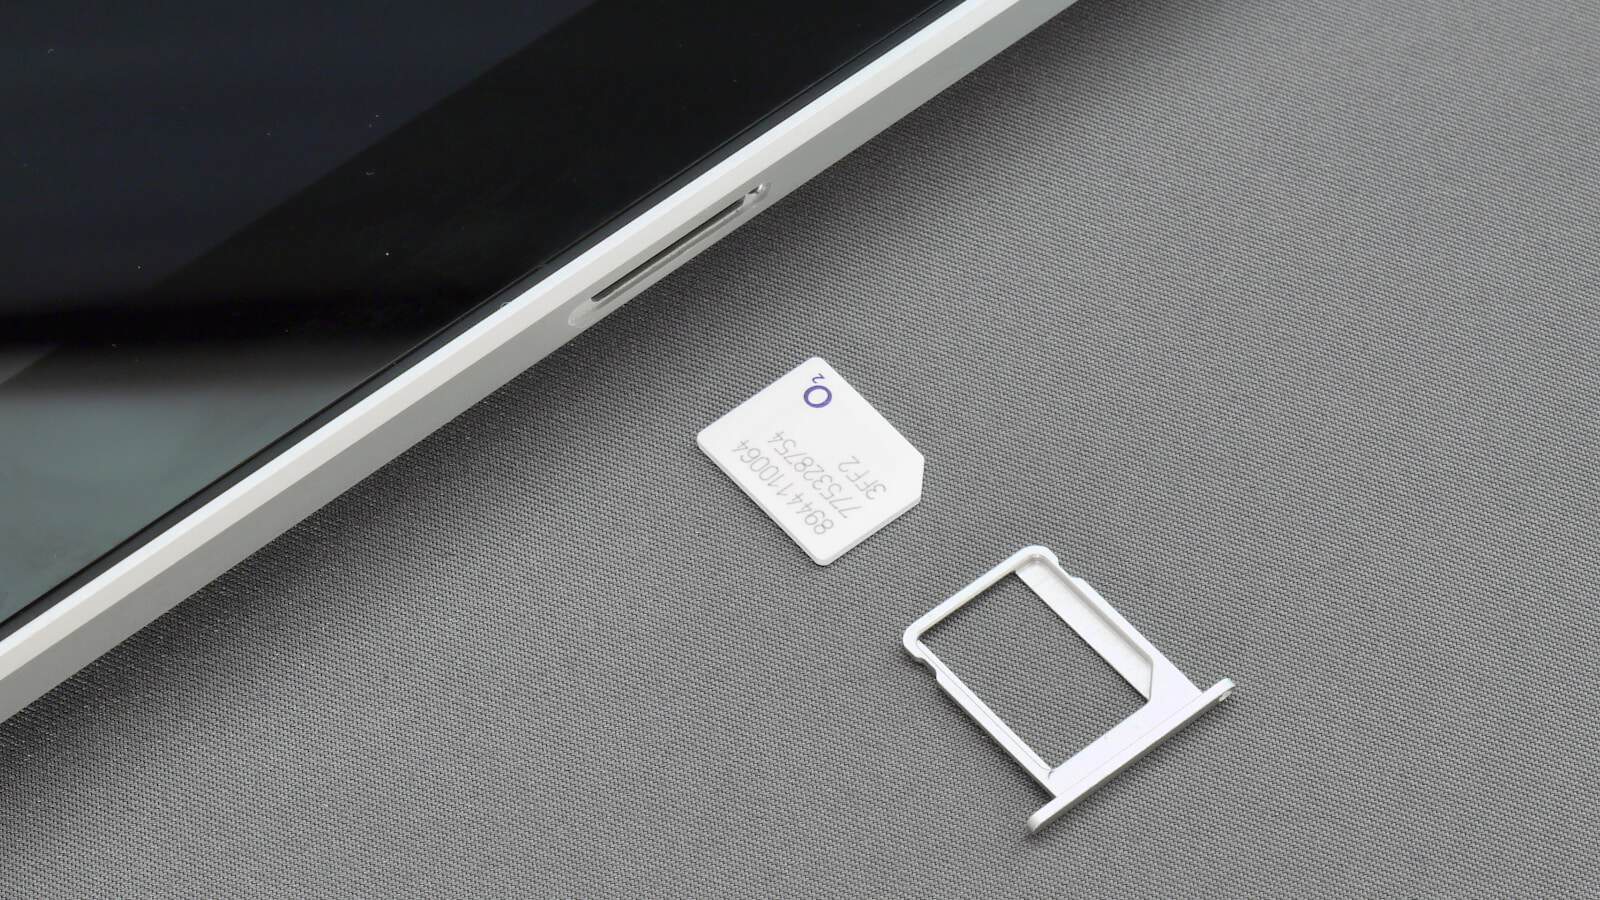
An eSIM is just a SIM card that lives inside your phone’s chipset instead of a plastic tray. No pin, no tray, no scratching around for a paperclip. But the first time you set one up, or move one to a new phone, it feels weirdly high-stakes, because your number is the key to your bank OTPs, your WhatsApp, and everything else.
The quick answer: To set up an eSIM on Android, first confirm your phone supports it and your carrier offers it. Then request an eSIM profile from your carrier: most send a QR code by email or issue it in their app. Go to Settings, open the mobile network or SIM section, choose the option to add a SIM or download a SIM instead, and scan the QR code over Wi-Fi. The profile downloads in a minute or two, and your number activates. To switch phones, do not factory reset or delete the old profile first. Transfer the eSIM using your phone’s built-in transfer tool if both devices support it, or ask your carrier to reissue the profile to the new device. Keep the old phone powered on and reachable until the new one shows signal.
First, check whether your phone actually supports eSIM
This trips people up because eSIM support is not universal even in 2026, and it varies by region for the exact same model. A phone sold in one country may have eSIM enabled while the same model sold elsewhere ships as dual physical SIM only. Chinese-market variants are the classic example.
The most reliable check is in your own settings. Open Settings and look under the network or connections section. If you see an option to add a SIM, download a SIM, or convert to eSIM, you have it. Some phones also expose an EID, a long numeric identifier unique to the embedded SIM, in the about-phone or SIM status screens. If an EID exists, the hardware is there.
Your carrier is the second gate. Support has spread widely, and in India the major operators all offer eSIM on postpaid and, in many cases, prepaid. But some smaller regional operators and MVNOs still don’t. Ask before you commit, especially if you’re buying a phone specifically because it’s eSIM-only.
eSIM-only phones and what that means for you
A handful of devices in some markets ship with no physical SIM tray at all. If that’s your next phone, your carrier must support eSIM. There is no fallback. Check this before you order, not after.
How to set up an eSIM on Android, step by step
The exact wording differs by brand, but the flow is the same everywhere.
- Get on stable Wi-Fi. The profile downloads over the internet. Doing this on a shaky mobile connection is how downloads fail halfway.
- Request the eSIM from your carrier. Most carriers let you do this in their app or on their website. Some require an in-store visit or a verification call, particularly in India where KYC rules apply. You’ll usually receive a QR code by email, or the carrier’s own app will hand off directly to the system installer.
- Open the SIM settings. Settings, then the mobile network or connections area, then the SIM manager. Look for “Add SIM,” “Add eSIM,” or “Download a SIM instead.”
- Scan the QR code. Point the camera at the code on another screen or a printout. If scanning fails, there’s almost always a manual entry option where you paste an activation code the carrier provides.
- Wait for the download. Usually under two minutes. Don’t switch apps aggressively or turn off Wi-Fi while it runs.
- Label it and set your preferences. Once installed, name the profile something obvious (“Work,” “Jio,” “Travel”) and pick which SIM handles calls, SMS, and mobile data by default.
Once the profile is active, restart the phone. It’s not strictly required, but it settles a lot of first-boot registration weirdness: especially VoLTE and Wi-Fi calling, which sometimes don’t light up until the phone re-registers on the network.
Brand differences that actually matter
The underlying eSIM standard is the same on every Android phone. What changes is where the menu lives and how much hand-holding you get.
Pixel keeps it simple: the SIM section in network settings has the add-eSIM option right there, and Google’s device-to-device transfer during setup can carry an eSIM across in many carrier cases. It’s the least fussy experience.
Samsung One UI puts it under the SIM manager, where physical and embedded SIMs sit side by side in one list. Samsung also surfaces per-SIM preferences clearly, which line calls whom, which line does data. If you use two lines heavily, One UI’s controls are the best of the bunch. Samsung’s own transfer tool can move eSIMs between Galaxy devices when the carrier permits it.
Xiaomi HyperOS and OnePlus both support eSIM on models where it’s enabled, though menu placement moves around between versions: check the SIM or dual-SIM area of network settings. Regional variation bites hardest here: some Xiaomi models sold in one region have eSIM while the identical-looking model elsewhere does not.
Because menu paths shift between software versions, the fastest route on any phone is the settings search box. Type “eSIM” or “SIM” and let the phone find the screen for you. That works no matter which skin you’re on.
Switching phones without losing your number
This is where people panic, and the panic is usually caused by one avoidable mistake: wiping or deleting the eSIM from the old phone before the new one is working.
An eSIM profile is not like a plastic SIM you can pop out and pop back in. Once you delete a profile, it’s gone from that device, and getting it back means the carrier has to issue a fresh one. Some carriers do that instantly and free. Others charge a fee, make you wait, or require identity verification all over again. Assume yours is the annoying kind.
The safe order of operations
- Set up the new phone fully first: Google account, apps, the works, while the old phone still has the working line.
- Use the built-in eSIM transfer if both phones support it. During Android setup, or later from the SIM settings, you’ll see an option to transfer a SIM from another device. It talks to the carrier in the background, provisions the new profile, and deactivates the old one only once the new one is live. This is by far the cleanest method.
- If transfer isn’t available, request a swap from the carrier before touching the old profile. Carrier apps increasingly have a self-service “change device” or “reissue eSIM” flow that emails a new QR code.
- Only after the new phone shows bars and can send an SMS should you remove the profile from the old phone or reset it.
Keep the old phone charged and near you throughout. Many carriers send a confirmation OTP to the existing line during the swap. If the old phone is already wiped, that OTP has nowhere to land, and you’re stuck making a support call.
While you’re moving devices, it’s worth doing the rest of the migration properly too. Our guide on transferring everything to a new Android phone covers the apps, chats, and settings that don’t come across automatically.
What NOT to do
Don’t factory reset the old phone first. This is the number one cause of “I lost my number for three days.” Reset last, always.
Don’t screenshot the QR code and assume it’s reusable. Most eSIM QR codes are single-use. Once the profile downloads to one device, scanning that same code again on another device typically fails. Keep the code, sure, but don’t count on it as a backup.
Don’t delete an eSIM profile to “free up space” or troubleshoot. Deleting is not a reset. If a line is misbehaving, toggle airplane mode, restart, or disable and re-enable the profile: all reversible. Deletion is not.
Don’t set it up on mobile data from another SIM if you can avoid it. It sometimes works, but a dropped download mid-provision is a support ticket waiting to happen.
Don’t assume your eSIM survives a factory reset. On many phones the reset flow asks whether to also erase eSIM profiles. Read that prompt. Choosing wrong there is exactly how people lose a profile they still needed.
Common problems and how to fix them
The QR code won’t scan. Increase brightness on the screen showing the code, or print it. Failing that, use the manual entry option and type the activation code your carrier provided.
Profile downloaded but there’s no signal. Restart the phone. Then check that the eSIM line is actually enabled in the SIM manager. A downloaded profile can sit there switched off. Also confirm the correct APN is set; carriers usually push it automatically, but not always.
Calls work, data doesn’t. You’ve probably got data assigned to the other SIM. In the SIM manager, set the eSIM as the preferred data line.
“Unable to download profile” or a similar error. Usually the code was already used, or it expired. Carriers put time limits on activation codes. Go back to the carrier for a fresh one.
Wi-Fi calling or VoLTE missing after the switch. These features are tied to your carrier’s records for that specific device. It can take a few hours to propagate after a device change, and sometimes needs a carrier settings refresh. Restart first, wait, then call support.
Why eSIM is worth the small hassle
Beyond skipping the tray, eSIM lets you hold multiple profiles on one phone and switch between them in software. That’s genuinely useful for travel, you can load a local data plan on landing without hunting for a shop, and for keeping a work line separate from a personal one on the same device.
It’s also harder to steal. Someone can pull a physical SIM out of a stolen phone in seconds and receive your OTPs. An eSIM is locked to the device and its screen lock. That’s a real security improvement, not a marketing line.
The tradeoff is flexibility. Swapping a physical SIM into a spare phone takes ten seconds; moving an eSIM takes a carrier interaction. If your phone dies completely and you need your number on a backup device tonight, a physical SIM wins. That’s the one scenario where the old technology is still better.
Frequently asked questions
Can I transfer an eSIM to a new phone without the old phone?
Sometimes, but it depends entirely on your carrier. Built-in device-to-device transfer needs both phones, so that route is out. What’s left is asking the carrier to reissue the profile to the new device, which typically requires identity verification since they can’t send an OTP to a line you can’t receive. If your old phone is lost or dead, contact the carrier directly and expect to prove who you are.
Does an eSIM keep working if I factory reset my phone?
Not necessarily. The reset flow on most Android phones asks whether to erase eSIM profiles along with your data. If you say yes, the profile is gone and the carrier has to issue a new one. If you say no, it usually survives. Read that screen carefully rather than tapping through it.
Can I use an eSIM and a physical SIM at the same time?
Yes, on most dual-SIM Android phones with eSIM support. That’s the common setup: one physical SIM plus one eSIM, both active, with you choosing which handles calls, texts, and data. Some phones support multiple stored eSIM profiles too, though usually only one or two can be active simultaneously.
Is eSIM safer than a physical SIM?
For physical theft, clearly yes: nobody can slide an eSIM out of your phone. It doesn’t protect against SIM-swap fraud, though, where an attacker convinces your carrier to move your number to their device. That attack targets the carrier’s process, not the hardware. Set a SIM PIN or port-out lock with your carrier if they offer one.
The bottom line
Setting up an eSIM takes about five minutes when everything cooperates. The risk isn’t the setup. It’s the switch. Do the new phone first, transfer the line second, and wipe the old phone last. Follow that order and your number never goes dark. Reverse it, and you’ll spend a morning on hold.
Related: How to Use Your Phone Abroad Without a Huge Bill (Roaming, eSIM, Wi-Fi)

I am the chief editor of TheLeaker. I also maintain the backend stuff of the site. I’m a tech enthusiast and loves to do Python coding in my free time. I have worked at many giant publications like XDA Developers and NXTtech before starting TheLeaker.
You can get in touch with me at Garv[at]theleaker.com.