
Selling an old phone is easy money, right up until you get the order wrong. Wipe your phone before selling it in the wrong sequence, and the buyer gets a phone locked to your credentials instead of a clean handset. Forget the eSIM and your number goes with it. Miss a folder and your photos travel to a stranger. None of this is hard. It’s just order-dependent.
The quick answer: Do it in this sequence. Back everything up and confirm the backup actually exists. Turn off two-factor codes tied to the device only after you’ve moved them. Then sign OUT of your Google account and any Samsung, Xiaomi, or manufacturer account, and turn off Find My Device. This is what disarms Factory Reset Protection, and skipping it leaves the buyer with a brick. Delete the eSIM profile and pull the physical SIM and any memory card. Only now run the factory reset from Settings. Afterwards, boot it once to confirm it lands on the fresh setup screen with no account prompt. Photograph the phone honestly for the listing, and insist on payment that clears before the phone leaves your hands.
Step 1: Back up before you do anything else
Once you reset, it’s gone. Assume there’s no undo, because functionally there isn’t.
Google’s built-in backup covers app data, call history, contacts, SMS, device settings, and Wi-Fi passwords. Check it’s actually run recently rather than assuming: Settings, Google, Backup, and look at the timestamp. Tap “Back up now” and let it finish on Wi-Fi.
Photos and video are separate. Confirm Google Photos has finished uploading: open the app, check the sync status at the top, and make sure it says everything’s backed up rather than showing a pending count. If you’re near your storage limit, this is where the backup silently stalls.
Then the things Google backup doesn’t reliably cover:
- WhatsApp and Signal. Run WhatsApp’s own backup from inside the app. Signal needs a transfer or an exported backup with a passphrase you write down.
- Authenticator apps. This is the one that ruins weekends. If Google Authenticator, Microsoft Authenticator, or Authy holds your 2FA codes, move them to the new phone and confirm they work before resetting. Google Authenticator can sync to your account or transfer by QR code. Losing these means account recovery hell.
- Downloads and documents. Open the Files app and go through Downloads and Documents manually. There’s always something.
- Notes, offline music, ebooks, and voice recordings from apps that store locally.
- Passkeys. Any passkey stored only on this device’s hardware is gone after reset. Make sure you have another way into those accounts.
If you’re moving to a new handset, do the migration properly rather than piecemeal. Our full walkthrough on transferring everything to a new Android phone covers the cable and wireless methods and what each one misses.
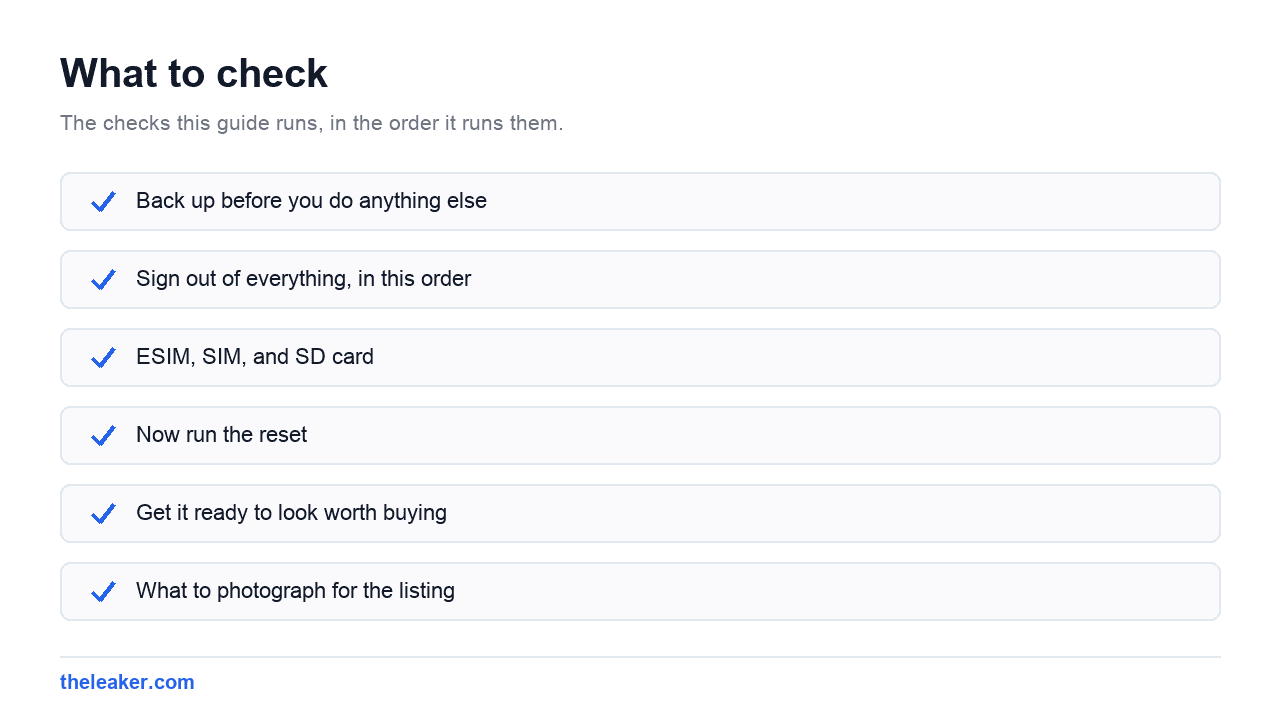
Step 2: Sign out of everything, in this order
This is the step that causes the most grief when skipped, so it gets its own section.
Factory Reset Protection (FRP) is an anti-theft feature. When a phone is reset while a Google account is still signed in, the phone demands those same account credentials on the next setup. That’s brilliant if your phone is stolen. It’s a disaster if you’ve sold it, because the buyer hits a login wall for an account they can’t access, and you’ll be fielding messages from an angry stranger. Newer Android releases have tightened this further, so don’t assume it’ll sort itself out.
Do this before the reset:
- Turn off Find My Device in Settings, Security & privacy, Device finders.
- Remove your Google account. Settings, Passwords & accounts (or Accounts and backup on Samsung), tap the account, Remove account. Do it for every Google account on the device.
- Remove the manufacturer account. Samsung account, Mi/Xiaomi account, or whatever equivalent your brand uses. Samsung phones enforce their own reactivation lock tied to the Samsung account, and Xiaomi’s Mi Cloud does something similar: removing the Google account alone isn’t enough on those brands.
- Remove work or school profiles if a company MDM ever touched the phone. A managed device can be re-enrolled automatically after a reset and stay locked to the employer. If your workplace enrolled it, ask IT to release it from management.
- Deauthorise anything that counts device slots: streaming services and some music apps limit how many devices can be registered.
- Remove screen lock and biometrics last, once accounts are gone.
A useful sanity check: after removing accounts, open the Play Store. If it prompts you to sign in rather than showing your library, the account is genuinely off the device.
Step 3: eSIM, SIM, and SD card
eSIM is the new thing people forget. Because there’s no physical card to pull out, the profile just sits there in software, and a factory reset may or may not delete it depending on the phone and the version, which is exactly the ambiguity you don’t want.
Delete it deliberately: Settings, Network & internet, SIMs, select the eSIM, then Erase or Delete SIM. On Samsung it’s under Connections, SIM manager. Important caveat: talk to your carrier first if you plan to reuse that number. Some carriers let you re-download the same profile with the original QR code or activation details, others require you to request a new eSIM, and a few charge for it. Sort out the transfer to your new phone before you erase the old profile, not after.
Physical SIM: pop the tray and take it out. Obvious, and people still ship phones with the SIM in them.
MicroSD card: remove it. A factory reset does not necessarily wipe removable storage, and even if you format the card, you should format it in the new device rather than assume the old one did it properly. If the card contained anything sensitive and you’re selling it with the phone: don’t. Cards cost a few pounds.
Step 4: Now run the reset
Settings, System, Reset options, Erase all data (factory reset). On Samsung’s One UI it’s Settings, General management, Reset, Factory data reset. On Xiaomi’s HyperOS it’s Settings, About phone, Factory reset. Confirm, and let it run. It takes several minutes and the phone will restart.
Charge the phone above 50% first. A reset interrupted by a flat battery is a bad afternoon.
Do you need to overwrite the storage first? Probably not. Modern Android devices encrypt storage by default, and a factory reset destroys the encryption keys, which makes the remaining data unreadable rather than merely deleted. That’s genuinely secure. The old advice about filling the phone with junk files and resetting again was for unencrypted devices from a decade ago. If your phone is very old, predates default encryption, or you can’t confirm encryption is on, then check Settings for an encryption option and enable it before resetting.
After the reset completes, boot the phone once and walk to the first setup screen. You want to see the language picker and Wi-Fi setup with no demand for a previous account. That single check confirms FRP is disarmed and saves you the entire dispute. Then power it off before packing.
Step 5: Get it ready to look worth buying
Physical presentation moves the price more than people expect. Clean the phone properly. A dry microfibre cloth for the screen, then a barely damp one with a little isopropyl for the frame. Clear the lint out of the charging port with a wooden toothpick so a buyer’s cable clicks in properly. Wipe the camera lenses. Take the case off and clean underneath.
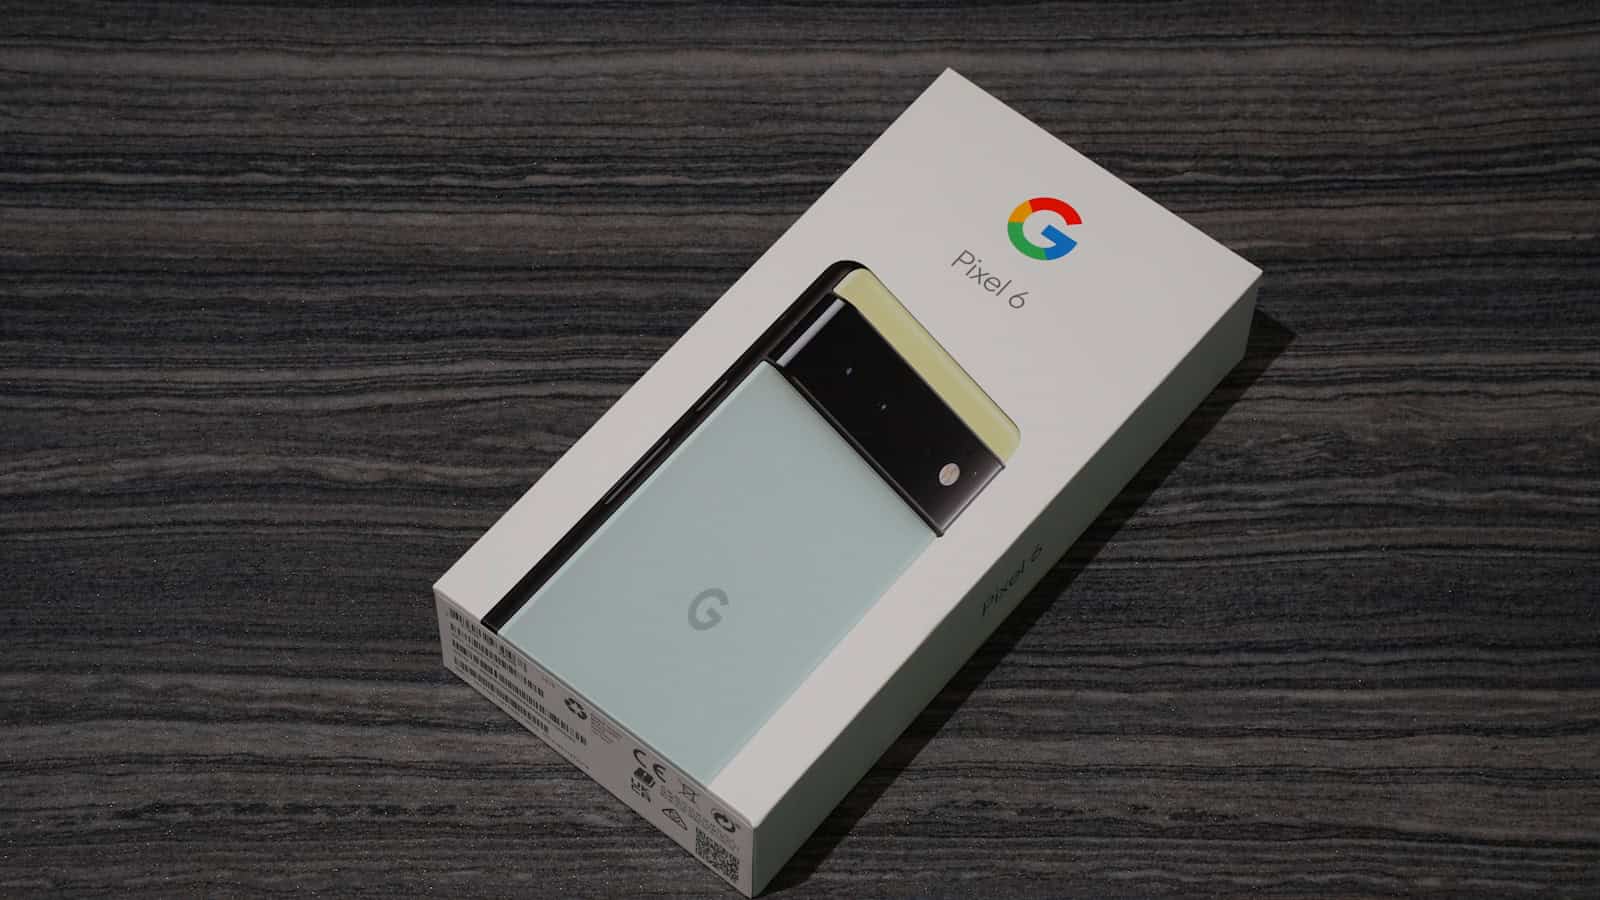
Gather what you have: original box, charger, cable, unused SIM tool, and any accessories. A boxed phone with the original cable sells faster and for more, even though the buyer barely cares about the cardboard.
Note down the IMEI (dial *#06# or find it in Settings, About phone). You’ll want it for the listing on some platforms, and you’ll want a record of it for yourself.
Step 6: What to photograph for the listing
Buyers scroll past listings with three blurry photos. Shoot these, in daylight, against a plain background:
- Screen on, showing the home screen or setup screen. This proves it powers on. A photo of a black screen proves nothing.
- Front, back, and all four edges. Straight on, in focus.
- Every scratch and dent, close up and honestly. Counterintuitive but true: disclosed damage reduces disputes, refund requests, and negative feedback far more than it reduces your price. Hidden damage always surfaces.
- The screen at an angle under light so scuffs and any burn-in are visible.
- Settings, About phone showing model and storage capacity.
- Battery health if your phone reports it. Pixels and some brands expose this; if yours doesn’t, say so rather than guessing.
- The box and accessories laid out.
In the description, state the storage size, the colour, the network status (unlocked or which carrier), whether it’s still under warranty, and the honest condition. Cover the IMEI or serial in photos if you’re worried about it being copied into a fraudulent listing.
Step 7: Don’t get scammed on payment
The phone-selling scams are old, well-rehearsed, and still work. The pattern is always the same: create urgency, move you off the platform, and get the item before the money is really yours.
Watch for these:
- “I’ll send extra to cover shipping, just refund the difference.” The original payment gets reversed later; your refund doesn’t. Never refund an overpayment: cancel the whole transaction instead.
- Fake payment confirmation emails. A screenshot or an email claiming funds are “held pending shipment” is not money. Check your actual bank or PayPal balance, in the app, not via any link they send.
- “Let’s move to WhatsApp / email.” Leaving the platform removes your buyer protection. That’s the entire point of the request.
- Friends-and-family payments. If a buyer insists on this on PayPal, they’re removing your obligations and their protections both, and it’s the standard setup for a later chargeback claim of fraud. Use goods-and-services and price in the fee.
- Cheques, bank transfers from unfamiliar accounts, and gift cards. All reversible or untraceable in the wrong direction.
- Courier pressure. “My courier is collecting in an hour, please just hand it over” is designed to stop you checking that payment landed.
For local sales, meet in a public place in daylight: many police stations have designated safe exchange zones. Count cash, or watch the transfer land in your own banking app before handing the phone over. For posted sales, always use tracked and insured delivery, keep the receipt, and record a short video of you packing the phone with the IMEI visible. That video is the thing that wins an “it arrived empty” dispute.
If a trade-in programme from a manufacturer or carrier offers slightly less than a private sale, seriously consider taking it. The gap is often smaller than people assume, and you’re paying it for zero scam risk and no dispute admin.
Step 8: The five-minute afterparty
Once the phone is sold and gone:
- Remove the device from your Google account. Go to your account’s device list on the web and sign it out, so it stops receiving 2FA prompts.
- Do the same for your Samsung or Xiaomi account.
- Deregister it from any tracking or insurance policy.
- Cancel the insurance if you had cover on that handset.
- Tell your carrier if the device was on a contract or an instalment plan, so the plan follows the right device.
If the phone won’t sell, old models often won’t, recycling it properly is better than the drawer. Carrier and manufacturer take-back schemes handle the data-destruction side and stop a lithium battery ending up in landfill. And if you’re keeping it as a spare, a wiped old phone makes a decent dashcam, music player, or security camera, though it’s worth checking whether it’s still receiving security updates before you put it on your network. If the reason you’re upgrading is that the old phone felt slow, some of that is fixable: see our notes on the settings that speed up an ageing Android before you write it off.
FAQ
What happens if I factory reset without signing out of Google first?
Factory Reset Protection kicks in. On the next setup, the phone demands the Google account credentials that were last signed in on it, and no other account will get past that screen. If you still have the phone, sign in with your own account, then remove it properly and reset again. If you’ve already sold it, the buyer will need you to either sign in remotely or provide the credentials, which is why the sign-out has to happen first.
Does a factory reset really erase everything securely?
On a modern Android phone, yes, in practice. Storage is encrypted by default, and the reset discards the encryption keys, so leftover data on the flash chips is unreadable rather than merely unlinked. There’s no need for the old trick of filling storage with junk files and resetting again. Very old handsets that predate default encryption are the exception.
Should I delete my eSIM before selling?
Yes, but sort out the number transfer with your carrier first. Delete the profile from the SIM settings so the phone leaves with no carrier profile attached. Some carriers let you re-download the same profile onto a new device, others issue a new one, so confirm the process before you erase anything.
Is it safer to trade in than to sell privately?
Trade-in is lower risk and lower reward. You typically get less than a private sale would fetch, but there’s no scam exposure, no shipping dispute, no negotiation, and the buyer handles data destruction as part of the process. If the price gap is small, or you’re selling an older handset where the private market is thin, trade-in is usually the better deal on an hourly basis.

Shivam has been working as a Tech journalist since 2014. He has worked at many Tech news blogs and Amazon India after that he joined TheLeaker in 2017 as a staff writer and now he’s an editor on the portal. When he is not working, you can find him playing games and listening to pop music. You can find him on Facebook and Twitter and can also contact him via email at [email protected]