
You record a gameplay clip or a tutorial, play it back, and the audio is just your room: someone talking in the background, a fan, your own breathing. The game sound, the app sound, the thing you actually wanted, is missing. That’s the difference between mic audio and internal audio, and getting internal audio on Android is easier than most guides make it sound.
The quick answer: Android has supported internal audio recording natively since Android 10, and every modern phone’s built-in screen recorder can capture it. Open Quick Settings, find the Screen recorder tile, and before you hit start, look for the sound option: pick “Media” or “Media sounds” rather than “Microphone” or “None.” That’s it, no root, no third-party app. Samsung, Pixel, Xiaomi and OnePlus all word it slightly differently but all offer it. The one thing that will still defeat you is DRM: streaming video services block screen recording entirely, and you’ll get a black screen or silent video no matter what you do. That’s deliberate, not a bug in your settings.
What “internal audio” actually means
Your phone can capture sound from two completely different places.
Microphone audio is what the mic hears. Your voice, room noise, and the phone’s own speaker output bouncing back, badly. That’s the default on a lot of devices and it’s why so many recordings sound terrible.
Internal audio (sometimes called media audio or system audio) is captured digitally from the audio stream before it ever reaches the speaker. Perfect clarity, no room noise, and it works with headphones plugged in. This is what you want for game clips, app demos, and anything where the phone is producing the sound.
Before Android 10 this genuinely required root, which is why so many old forum posts and YouTube tutorials tell you it’s impossible. Android 10 added a proper API for it and the built-in recorders have used it ever since. If your phone runs Android 10 or newer, and almost everything in use does, you have this.
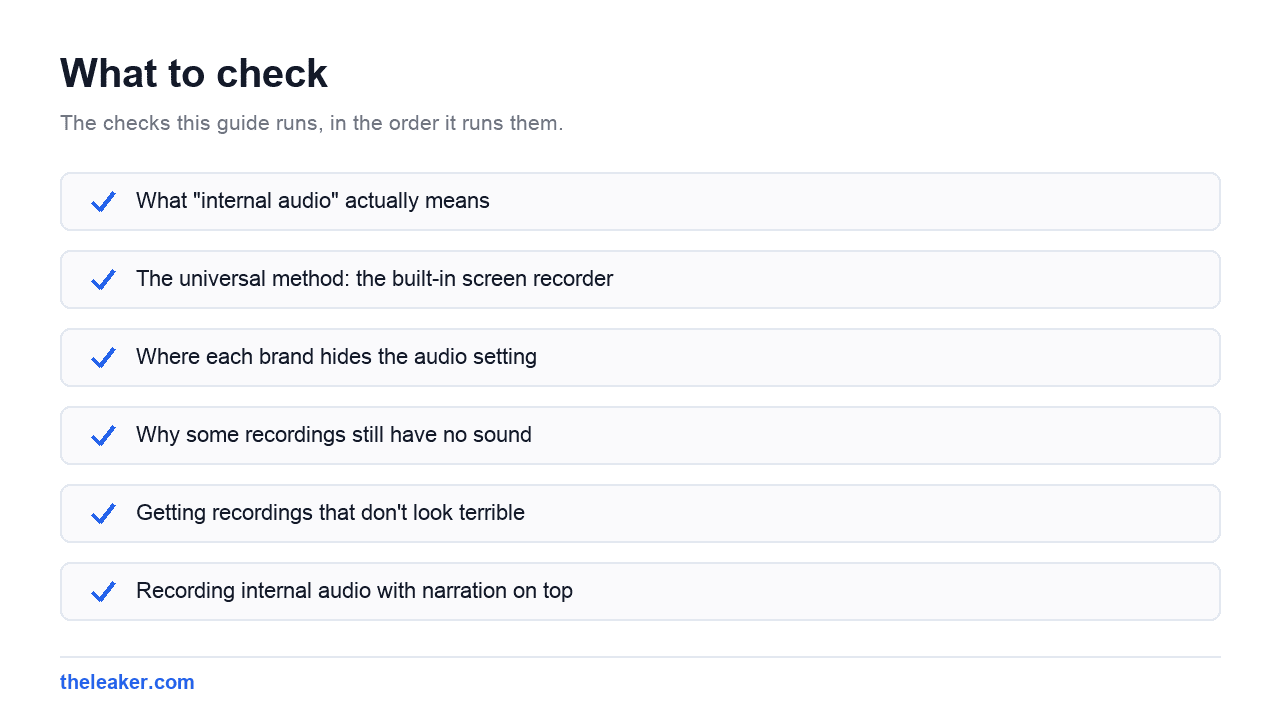
The universal method: the built-in screen recorder
Skip the app store. Your phone already has this, it’s better integrated, it doesn’t add a watermark, and it doesn’t need permissions you’d rather not hand out.
- Swipe down twice from the top to open the full Quick Settings panel.
- Look for a Screen recorder tile. If you don’t see it, tap the edit or pencil icon and drag it in from the available tiles.
- Tap it. A settings prompt appears before recording starts. This is the important screen.
- Find the sound or audio option and choose Media (or “Media sounds,” or “Internal audio” depending on your phone).
- Start recording. There’s usually a three-second countdown.
- Stop from the notification shade, or by tapping the floating stop button.
The recording saves to your gallery, typically in a Screen recordings album. That’s the whole process.
Where each brand hides the audio setting
Samsung (One UI)
Samsung’s recorder gives you three clear choices when you start: No sound, Media sounds, and Media sounds and mic. Pick Media sounds for pure internal audio, or Media sounds and mic if you’re narrating over a game.
You can also pre-configure it under Settings → Advanced features → Screenshots and screen recorder → Screen recorder settings, where you’ll find sound, video quality, and selfie video size. Samsung’s recorder is one of the better ones. It supports drawing on screen while recording and showing your front camera in a bubble, which is handy for reaction-style clips.
Pixel (stock Android)
Google’s recorder asks whether to record audio and, if yes, lets you choose the source. Choose Device audio for internal only, or Device audio and microphone for both. There’s also a “Show touches on screen” toggle that’s useful for tutorials. It draws a circle wherever you tap so viewers can follow along.
Xiaomi (HyperOS / MIUI)
Xiaomi has a full Screen Recorder app, not just a tile, and it has the most settings of any of them. Open it and hit the gear icon. Under Sound source, pick System sounds for internal audio. While you’re in there, check the resolution, frame rate and bit rate settings: Xiaomi often defaults to something conservative, and bumping the bit rate up makes a visible difference on fast-moving content.
Xiaomi’s recorder also has a “lock screen ends recording” option that catches people out. If your recordings keep stopping early, that’s probably why.
OnePlus (OxygenOS)
Same pattern. Add the Screen recorder tile, open its settings via the gear, and set the sound source to internal or system audio. OxygenOS also has a “record with front camera” option in newer versions.
Other brands (Motorola, Vivo, Oppo, Realme, Nothing) all follow the same shape: a Quick Settings tile, a settings gear, and a sound source picker. The wording varies but the option is there.
Why some recordings still have no sound
You did everything right and the video is silent. Here’s what’s actually happening, in rough order of likelihood.
DRM protection. Streaming video and music services mark their playback surfaces as secure. Android honours that at the system level. The recorder gets a black frame and no audio. Nothing you configure changes this. No app changes it either, and any app claiming otherwise is either lying or doing something you shouldn’t install. This applies to protected video and music streaming apps broadly.
The app opted out. Since Android 10, apps can declare their audio non-capturable. Some music and calling apps do this. You’ll get video with silence.
Calls can’t be captured. Voice and video call audio is blocked from screen recording on Android for legal reasons around consent. This is not configurable.
Nothing was playing. Obvious, but worth checking. Internal audio captures the media stream. If the app was making notification sounds rather than media sounds, or the media volume was at zero, you get nothing. Media volume being muted does still mute the recording on many devices: turn it up before recording.
Wrong source selected. The setting resets more often than you’d expect after system updates. Check it each time until you’re sure it’s sticking.
Getting recordings that don’t look terrible
Default settings prioritise small file sizes. If your clips look blocky whenever anything moves, adjust these.
- Resolution: match your screen’s native resolution if you can. Recording at 720p on a 1440p screen throws away detail you can’t get back. But if your phone drops frames while recording, lowering resolution is the first thing to sacrifice.
- Frame rate: 30fps is fine for app demos and tutorials. 60fps for gameplay, where smoothness is the point.
- Bit rate: this matters more than resolution for perceived quality. If your recorder exposes it (Xiaomi does), push it higher. Low bit rate is what causes that smeared, blocky look during motion.
- Storage: high-quality recording eats space fast: think several hundred megabytes per minute at the top settings. Check you have room, or the recording will stop mid-way. If you’re constantly out of space, our guide to freeing up storage without deleting anything is a good place to start.
One more: screen recording is demanding. It encodes video in real time while the app you’re recording is also running. Long sessions get the phone hot, and a hot phone throttles, which means dropped frames. If you’re recording a long gameplay session, take the case off and don’t charge at the same time.
Recording internal audio with narration on top
For tutorials and commentary you want both streams: the app’s sound and your voice. Every recorder listed above supports this. It’s the “Media sounds and mic” or “Device audio and microphone” option.
A few things that make a real difference:
Use wired earbuds with an inline mic if you have them. The phone’s built-in mic picks up handling noise every time your fingers move on the screen, and it also picks up the speaker output, which fights with the clean internal track.
Don’t record in a room with hard surfaces and no soft furnishings. Bathroom acoustics are unmistakable and unfixable in post.
Watch your mic hand. On most phones the primary mic is at the bottom edge, near the charging port. Covering it in landscape mode is very easy to do and completely ruins the take.
Do you need a third-party recorder at all?
Mostly no. The built-in recorder covers internal audio, mic mixing, front camera overlay, and touch indicators on most modern phones. Third-party apps add things like scheduled recording, trimming built in, custom watermarks, and recording in a specific aspect ratio.
If you do install one, be selective. Screen recorders need the ability to capture everything on your display, which is about as sensitive a permission as exists. Stick to well-known apps from the official Play Store, check what permissions they request, and be suspicious of any free recorder that also wants contacts or SMS access. Never sideload a “premium unlocked” version of a recorder. You’re handing full screen access to an unknown build.
What NOT to do
Don’t record your speaker with the mic and call it internal audio. It’s the fallback everyone tries first and it always sounds hollow, echoey, and full of room noise. If your options only show mic recording, you’re looking at the wrong menu, not hitting a hardware limit.
Don’t chase apps that promise to defeat DRM. They don’t work, and the ones that claim to are a good way to install something you’ll regret. If a service blocks recording, that’s the intended behaviour.
Don’t record at maximum quality by default. A ten-minute 1440p 60fps recording is enormous and most of that detail disappears the moment you upload it anywhere. Match the settings to where the video is going.
Don’t forget notifications are recording too. Every message preview that slides down is now in your video. Turn on Do Not Disturb before you start. It’s the most common reason people have to re-record.
Frequently asked questions
Can I record internal audio on Android 9 or older?
Not without root. The system API that makes clean internal capture possible arrived in Android 10. On Android 9 and earlier the only options are mic recording or rooting the device, and rooting a phone you rely on daily isn’t worth it for this. If your phone is that old, connect it to a computer and capture there instead.
Why does my screen recording show a black screen?
Almost always DRM. Streaming video services mark their playback as protected content and Android blacks it out in any capture. The recording itself is working fine. The system is deliberately substituting a black frame. The same protection is why the audio is silent too.
Can I record internal audio while using headphones?
Yes, and it’s actually the better way to do it. Internal audio is captured from the digital stream, not the speaker, so headphones make no difference to the recording quality. It also means you can monitor what you’re capturing without the speaker feeding back into your mic if you’re narrating.
Where do screen recordings get saved?
Usually a Screen recordings folder in your gallery, or in DCIM on internal storage. Samsung, Pixel and Xiaomi all create a dedicated album. If you can’t find a recording, check the notification from when it finished: tapping it opens the file directly.
The short version
Open Quick Settings, find the screen recorder tile, and check the sound source before you start. Pick Media or Device audio for clean internal sound, add the mic if you’re narrating. Turn on Do Not Disturb first, keep an eye on storage, and accept that DRM-protected content simply won’t record. No root, no third-party app, no watermark.
Related: Screenshots on Android: Every Method, Including Scrolling Capture · Quick Share and Nearby Share: How to Send Files Between Any Devices

A tech Journalist and Photographer, Dhawal Sharma is a technology enthusiast who loves to research the latest innovations and technology. He has contributed to the Honor Community for a very long period and has crucial expertise in writing tech news and reviewing smartphones and laptops. Analyzing and bringing the facts about any piece of tech is what he loves the most. He is a great product photographer and is the Gizmopedia of TheLeaker. Find him on Facebook and Instagram, and you can also email him at [email protected].