
You’ve had the same ringtone since you bought your iPhone. So has everyone else in the coffee shop, which is why five people reach for their pockets every time a phone rings. The good news: you can change your iPhone’s ringtone to a custom one, any song you like, for free, and you don’t even need a computer anymore.
The quick answer: The easiest free way to set any song as your iPhone ringtone in 2026 is GarageBand. Import the audio file into a GarageBand project on your iPhone, trim it to 30 seconds or less, then use Share > Ringtone to export it straight into Settings > Sounds & Haptics. No computer, no cable, no payment. The catch is that the song has to exist as an actual audio file you own: tracks streamed from Apple Music or Spotify are DRM-protected and won’t work. If you’d rather skip the DIY route, you can buy ready-made tones from the iTunes Store for a dollar or two, or use a ringtone-maker app to handle the trimming for you. The old Finder/iTunes sync method still works too, if you prefer doing it on a Mac or PC. All four methods are covered below.
What you need before you start
One thing trips everyone up, so let’s get it out of the way: you need the song as a real audio file. That means an MP3, M4A, WAV, or similar file sitting in the Files app, in your GarageBand file browser, or in your synced music library.
What won’t work:
- Apple Music streaming tracks. They’re DRM-protected. GarageBand will show them grayed out.
- Spotify, YouTube Music, or any other streaming service. Same reason. Streaming a song isn’t owning it.
- Songs you haven’t downloaded. Even purchased tracks need to be downloaded to the device first.
If you bought the song on iTunes years ago, you’re fine. Those purchases are DRM-free and work perfectly. Recordings you made yourself, tracks from Bandcamp, or files you ripped from your own CDs all work too.
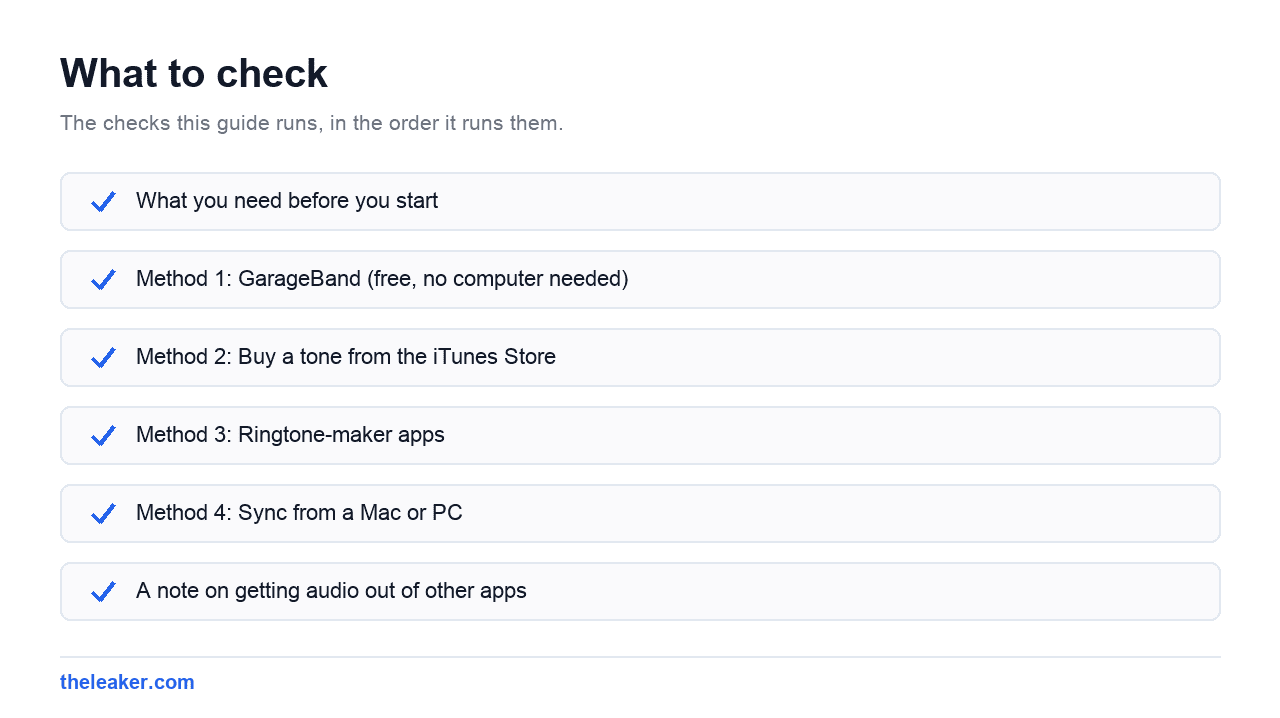
Method 1: GarageBand (free, no computer needed)
GarageBand is Apple’s own music app, it’s free on the App Store, and it has a built-in ringtone exporter. This is the method to learn.
- Install GarageBand from the App Store if you don’t have it.
- Open it and create a new project. Pick any instrument: Audio Recorder is fine, you won’t actually use it.
- Tap the Tracks view button (the one that looks like layered bricks) to see the timeline.
- Tap the Loop browser icon (the loop/lasso shape in the top right), then choose the Files tab.
- Find your song, then press and hold it and drag it onto the timeline.
- Trim it. Drag the edges of the audio region so the section you want is 30 seconds or less, and slide it so it starts at the very beginning of the timeline. If your clip is longer, GarageBand will just cut it off at 30 seconds when exporting.
- Tap the down-arrow in the top left and choose My Songs to save the project.
- Press and hold the saved project, tap Share, then choose Ringtone.
- Name it and tap Export. GarageBand offers to set it as your ringtone right there, or you can do it later in Settings.
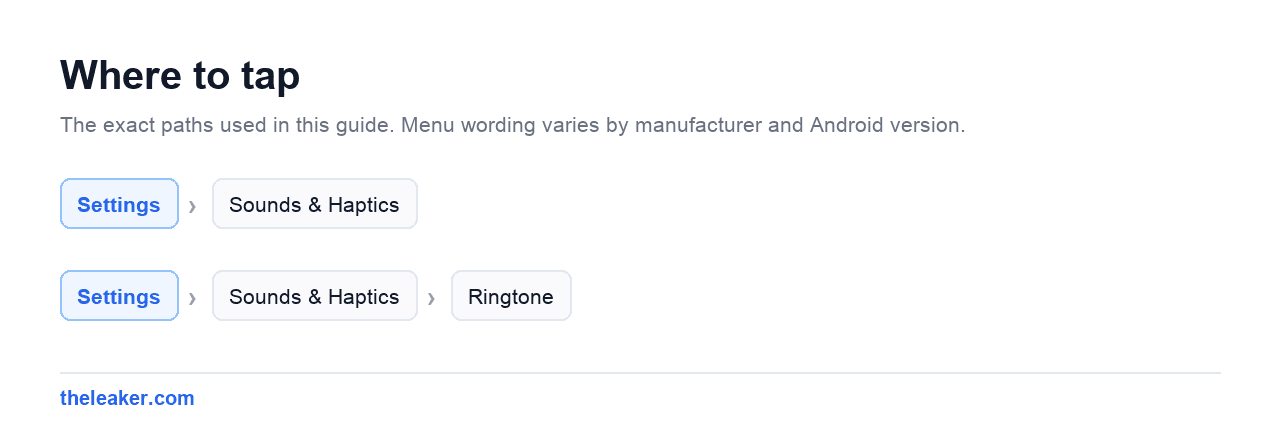
That’s it. The tone now lives at the top of your ringtone list under Settings > Sounds & Haptics > Ringtone.
Method 2: Buy a tone from the iTunes Store
If the song you want is popular, someone has probably already made an official tone from it. This costs money but takes about 60 seconds.
- Open Settings > Sounds & Haptics > Ringtone.
- Tap Tone Store at the top of the list.
- Search for the song, preview the tone, and buy it. Most cost around a dollar or two.
- It downloads and appears in your ringtone list automatically.
The obvious downside: you don’t control which part of the song you get, and not every track is available. But for a chart hit, it’s the fastest path.
Method 3: Ringtone-maker apps
The App Store has plenty of ringtone-maker apps that give you a friendlier trimming interface than GarageBand: waveform views, fade-in/fade-out, precise start points. Search “ringtone maker” and pick one with solid recent reviews.
Two things to know before you download one:
- They can’t install the tone themselves. Apple doesn’t let third-party apps write directly to your ringtone list. Almost all of them export their result to GarageBand for the final step, or walk you through a computer sync. So you’ll likely end up in GarageBand anyway.
- Watch the pricing. Many are free to trim but charge a subscription to export. If an app demands a weekly subscription for a one-time job, close it and use GarageBand instead.
These apps make sense if you’re making lots of tones and want better editing tools. For a one-off, Method 1 is simpler.
Method 4: Sync from a Mac or PC
The classic method still works, and it’s handy if your music library lives on a computer.
- Get your clip into .m4r format. On a Mac, you can trim the song in the Music app (set custom start/stop times in the track’s Options, then convert to AAC), find the resulting .m4a file, and rename the extension to
.m4r. Keep it under 30 seconds. - Connect your iPhone with a cable. On a modern Mac, it appears in the Finder sidebar; on Windows, use iTunes or Apple’s newer Apple Devices app.
- Drag the .m4r file onto your device in the sidebar. It syncs across and shows up in Settings > Sounds & Haptics > Ringtone.
It’s clunkier than GarageBand, but it gives you the most control and doesn’t require any editing on the phone.
A note on getting audio out of other apps
iOS has gotten much better at moving audio around. Voice Memos can be shared straight to Files or GarageBand. Most audio apps support the standard share sheet, so “save to Files, then import in GarageBand” works for nearly any recording you legitimately own. What hasn’t changed is DRM: anything protected by a streaming service stays locked, and no ringtone app or trick gets around that.
Set different ringtones for different people
Once you have custom tones, put them to work. Give your partner, your boss, and your group chat their own sounds so you know who’s calling without looking.
- Open the Contacts app (or Phone > Contacts) and pick a person.
- Tap Edit in the top corner.
- Tap Ringtone, choose any tone, including your custom ones, and tap Done.
- You can set a custom Text Tone the same way, one line below.
A useful trick: set a silent or subtle tone as your default, and loud custom tones only for the handful of people you never want to miss.
Managing and deleting custom tones
To remove a tone you made, go to Settings > Sounds & Haptics > Ringtone, swipe left on the custom tone, and tap Delete. Purchased tones can be re-downloaded from the Tone Store later, but tones you made in GarageBand are gone once deleted: keep the GarageBand project if you think you’ll want it again.
FAQ
Can I use any song as my iPhone ringtone?
Any song you have as an actual audio file, yes: MP3, M4A, WAV, old iTunes purchases, your own recordings. What you can’t use are tracks streamed from Apple Music, Spotify, or similar services, because they’re DRM-protected. If the song only exists inside a streaming app, no ringtone method will accept it.
Can I make a ringtone without a computer?
Yes. The GarageBand method above happens entirely on your iPhone: import the file, trim to 30 seconds, Share > Ringtone, done. Buying from the Tone Store is also computer-free. You only need a Mac or PC for the old-school Finder/iTunes sync method.
Why is there a 30-second limit?
It’s Apple’s hard cap on the ringtone format, and it’s been there since the beginning. Part of it is practical (a ringtone loops, so anything longer just never gets heard) and part is licensing convention, since short clips are treated differently from full songs. Text tones are capped even shorter. GarageBand enforces the limit automatically by trimming anything longer at export.
My song is grayed out in GarageBand. Why?
It’s a DRM-protected streaming track, or it isn’t downloaded to your device. Check whether the song is an Apple Music stream rather than a file you own. If you purchased it, download it fully first. If it’s a local file, make sure it’s in a standard format like MP3 or M4A: GarageBand can’t import some exotic formats.
Once you’ve made your first tone, the whole process takes about two minutes. Make a few. Your future self, calmly ignoring a call because the ringtone says it’s a spam-likely number, will thank you.

Akshay Mhatre is a Tech Journalist who likes to keep up with the latest from the tech world. He has worked at many popular news portals like BGR and TechRadar before joining TheLeaker as a News writer and journalist. A writer by day and a VFX artist by night. In his free time, he also likes to make motion graphics and concept art. You can find him on Instagram @akshayrazr_95 and contact him on akshaymhatre[@]theleaker.com.
Comments are closed.