
Motorola remains one of the friendliest big-name brands for bootloader unlocking. No waiting periods, no account age checks, no community-app applications: just an official portal, a code exchange, and about twenty minutes of your time. That’s been true for over a decade, and it’s still true in 2026. The catch is smaller print: not every Moto qualifies, and the ones sold through certain carriers are locked out of the program entirely. Here’s the full official process to unlock the bootloader on any Motorola phone, updated for how it works today.
The quick answer: Motorola runs an official bootloader unlock portal on its website. You enable Developer options and OEM unlocking on the phone, boot it into fastboot mode, and pull a long “unlock data” string from it using the fastboot tool on your computer. You paste that string into Motorola’s portal, which checks whether your specific device is eligible. If it is, Motorola emails you a unique unlock key, which you feed back to the phone with a single fastboot command. The unlock wipes the phone completely and Motorola’s own warranty position is that unlocking voids coverage, so back up first and think it through. The whole thing is free. The main disqualifier: many carrier-sold models, especially in the US, are permanently ineligible, and no legitimate service can change that.
What you need before you start
- An eligible Motorola phone. Most unlocked retail Motos qualify. Many carrier variants don’t: more on that below.
- A computer running Windows, macOS, or Linux with Google’s platform-tools (ADB and fastboot) installed. Download platform-tools only from Google’s official Android developer site; it’s a small zip you just extract and run from.
- A USB cable that carries data, not just charge.
- A Motorola account (or a Google login) to sign in to the unlock portal, plus an email address you can access. The unlock key arrives by email.
- A full backup. The unlock factory-resets the phone. Photos, messages, app data, authenticator codes: get them off the device first.
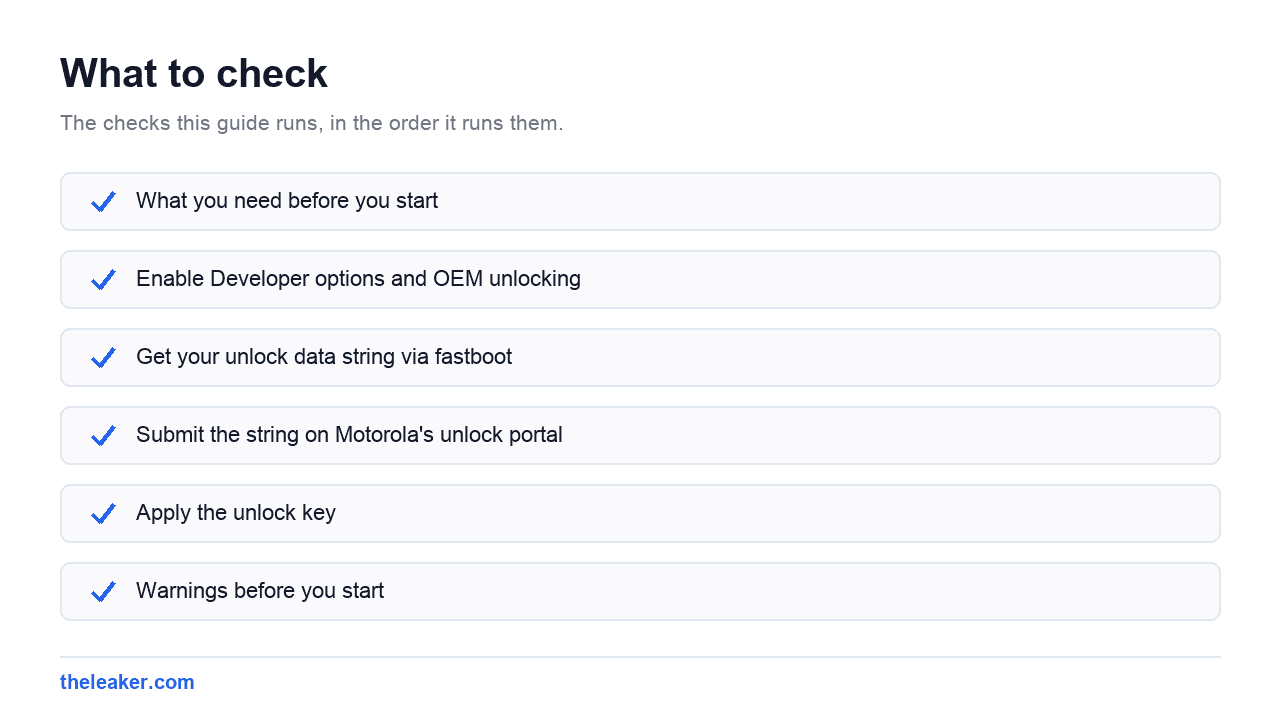
Step 1: Enable Developer options and OEM unlocking
- Open Settings, go to About phone, and tap Build number seven times until you see “You are now a developer.”
- Go back to Settings, open System, then Developer options.
- Turn on OEM unlocking. You’ll be asked for your PIN and given a warning: accept it.
- Turn on USB debugging while you’re there. It makes rebooting into fastboot easier.
If the OEM unlocking toggle is greyed out or missing entirely, that’s a signal worth paying attention to: see the FAQ at the bottom.
Step 2: Get your unlock data string via fastboot
- Connect the phone to your computer and open a terminal (or Command Prompt) in your platform-tools folder.
- Run
adb reboot bootloader. The phone restarts into fastboot mode. A sparse text screen. (No ADB? Power off, then hold Power and Volume Down together.) - Run
fastboot devicesto confirm the computer sees the phone. On Windows, if nothing shows up, install Motorola’s USB drivers and try again. - Run:
fastboot oem get_unlock_data
The phone spits back several lines of characters prefixed with “(bootloader)”. Copy all of those lines into a text editor, strip out every “(bootloader)” prefix and all spaces and line breaks, and join the fragments into one single continuous string. That combined string is your unlock data. Getting this concatenation right is the step people fumble most: one stray space and the portal rejects it.
Step 3: Submit the string on Motorola’s unlock portal
- Go to Motorola’s official bootloader unlock page (search “Motorola unlock bootloader”. It lives on motorola.com’s support section) and sign in.
- Paste your combined unlock data string into the field and submit it.
- The portal checks eligibility. If your device qualifies, you agree to Motorola’s terms (read them, because this is where the warranty language lives) and request the key.
- Motorola emails you a unique unlock key. It’s usually quick, but give it a little time before assuming something went wrong, and check spam.
If the portal says your device doesn’t qualify, that’s a final answer from Motorola’s side. The key is generated per-device by Motorola; there’s no alternative issuer.
Step 4: Apply the unlock key
- With the phone still in fastboot mode (reboot into it again if needed), run:
fastboot oem unlock YOUR_UNLOCK_KEY: replacing YOUR_UNLOCK_KEY with the code from the email. - The first run typically returns a warning telling you to re-run the command to confirm. Run the exact same command a second time.
- The phone unlocks and wipes itself. First boot takes longer than usual. That’s normal.
From now on, you’ll see a “bootloader unlocked” warning screen on every boot. It’s cosmetic and harmless. You’re now free to flash a custom recovery, root with Magisk, or install a custom ROM.
Warnings before you start
- Your data is gone the moment you unlock. The wipe is a security feature, not a bug. Back up before Step 4, not after.
- Motorola’s stated position is that unlocking voids your warranty. You acknowledge this on the portal. Regional consumer law may override that for unrelated hardware faults, but don’t count on a friendly service desk: see the FAQ.
- Carrier phones are often ineligible, permanently. Verizon and AT&T models in particular are excluded from the program. No workaround exists, and anyone selling one is scamming you.
- Banking and payment apps may break. Unlocked bootloaders fail Play Integrity checks by default, which can disable tap-to-pay and some banking, streaming, and work apps.
- Security drops. Anyone with physical possession of an unlocked phone can flash it. Factor that in if this is your daily driver.
- Only use official tools. Motorola’s portal plus Google’s platform-tools is the entire toolkit. Skip any third-party “one-click unlock” apps and paid unlock services. The real method is free.
Relocking the bootloader
You can relock a Motorola bootloader, but only do it on clean, official firmware for your exact model and software channel. Flash the full stock firmware first (Motorola’s Rescue and Smart Assistant tool can restore many models to stock), then relock from fastboot with fastboot oem lock, confirming when prompted. Relocking wipes the phone again.
Never relock while a custom ROM or modified partitions are installed. That’s the classic recipe for a brick. And note that relocking doesn’t un-ring the bell: your device’s unlock is already on record with Motorola, and the status flag on the device reflects that it was unlocked before.
Frequently asked questions
Is unlocking a Motorola bootloader free?
Yes, completely. Motorola’s portal generates the key at no charge, and Google’s platform-tools download is free. If any website, app, or seller asks for payment to unlock a Motorola bootloader, walk away. They’re either reselling a free process or running an outright scam. The only things the process costs you are your data (backed up, hopefully) and Motorola’s warranty goodwill.
Can I unlock a carrier-locked or carrier-branded Moto?
Usually not. Carriers pay Motorola to keep their variants out of the unlock program, and US carrier models, Verizon and AT&T especially, are the most consistently blocked. The portal will simply reject your unlock data string. Note that carrier SIM-unlocking (using other networks) is a totally separate thing from bootloader unlocking; having one doesn’t grant the other. If custom ROMs matter to you, buy the unlocked retail model up front.
What happens to my warranty in practice?
On paper, Motorola says unlocking voids the warranty, and you explicitly accept that on the portal. In practice it’s messier: in regions with strong consumer protection, a manufacturer generally can’t refuse to fix a hardware defect that has nothing to do with your software changes. But expect friction. The pragmatic play is to restore stock firmware and relock before any warranty visit, and to unlock only after you’ve confirmed the hardware is fault-free.
Why doesn’t the OEM unlocking toggle appear on my phone?
Three common causes. First, carrier models: if the carrier blocked unlocking, the toggle is often greyed out or absent, and the portal would reject you anyway. Second, connectivity: on some devices the toggle stays greyed out until the phone has been online, so connect to the internet and check again. Third, recency: a factory protection window after certain resets or on brand-new devices can keep it disabled for a short period. If it’s greyed out with a message about connecting to the internet or waiting, do exactly that, then retry.

Akshay Mhatre is a Tech Journalist who likes to keep up with the latest from the tech world. He has worked at many popular news portals like BGR and TechRadar before joining TheLeaker as a News writer and journalist. A writer by day and a VFX artist by night. In his free time, he also likes to make motion graphics and concept art. You can find him on Instagram @akshayrazr_95 and contact him on akshaymhatre[@]theleaker.com.